Wednesday, November 30, 2005


Ripping up More Bad Flooring

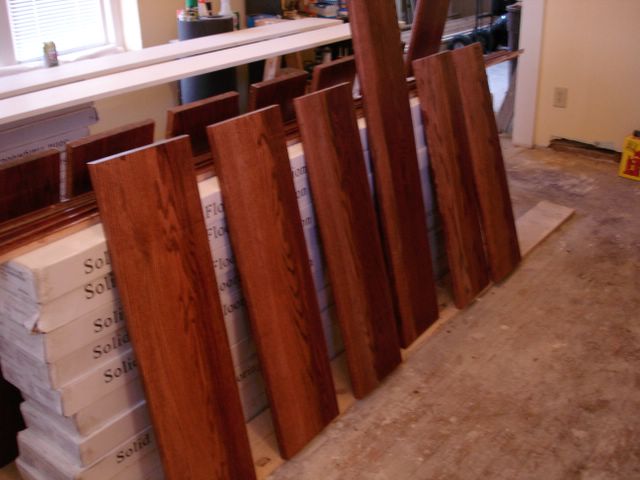
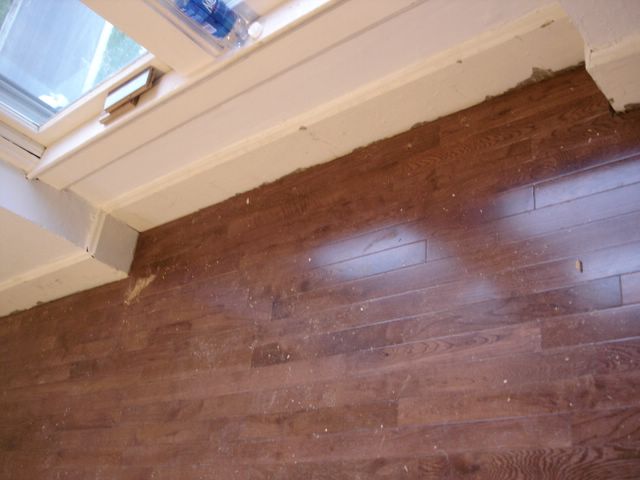
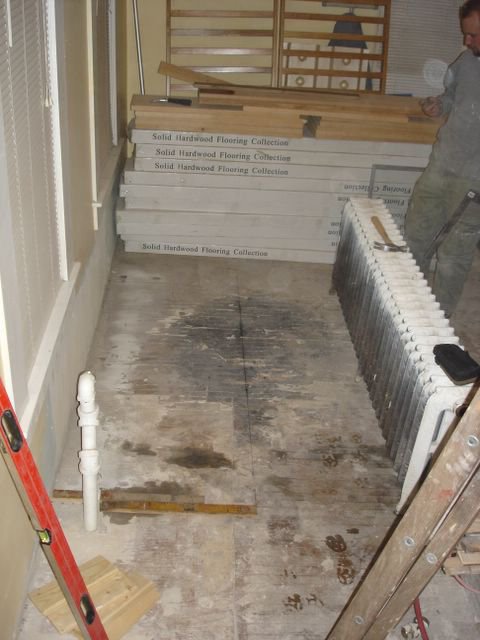
This is in the area of the living room that had burn marks in the flooring from a fire in the house's past. We can't afford to replace all of the wood with new, and we're not installing carpet. We're saving the floor. I think we've been working on this for two weeks now???? Extremely time consuming, but we're looking forward to how purty it'll look!

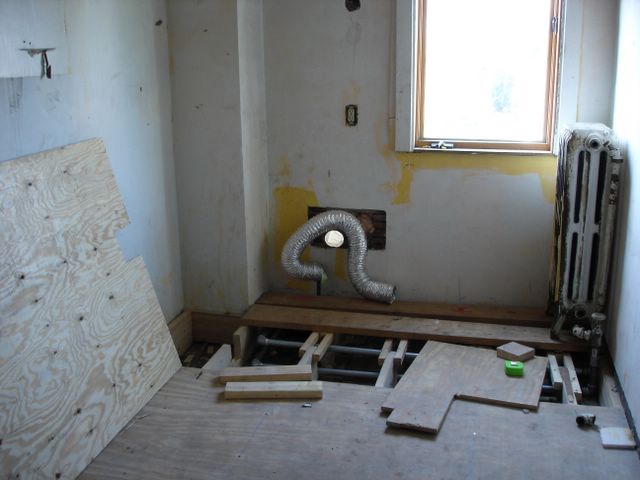
C and I discovered that more tools were necessary to be efficient at ripping out the old boards to finger in the new ones. I'm going to have to write the people at This Old House, because this new method works pretty dang slick!

Using the carpenter's square, draw lines at various point across the old floor to be cut out. Then, using a flat wood bit, drill a hole just next to each of the lines (on the side of the wood that you'll be ripping out, of course). The point of this is to weaken the area you'll be chiseling. Then use a jigsaw to cut across each line. TOH recommends running a few cuts up the length of each board with a circular saw, and this is highly recommended.

Stair Treads

My Mom has been a busy little worker bee staining and varnishing all of the oak stair treads. I honestly don't know when C or I would've had time to do this! Thanks, Mom!

Prepping the Bedroom Floor

Bedroom Floor Installed Posted by Picasa

Laundry Room: After Floor

Took my man just a few hours to install. As always, in case you've forgotten what it looked like while we were ripping it apart, check this out. Special thanks to Andrea for lending a hand with the wainscoting installation! It will be so much more pleasant to do laundry in here, rather than two floors down in the skanky, evil basement.

Friday, November 25, 2005


More Floor Installation

This is in the front bedroom.

Beginning Floor Installation

We've been waiting on the flooring project until we got the radiators in. Y'all know about that hassle, so I won't even go into it. In short: radiators in, no leaks, all connections sealed tight. Ready to go with the flooring.

After my bro and I tested our skills with a rented manual stapler on a small flooring project in the living room, everyone involved agreed that it was time to pull out the big guns by hooking it up to an air compressor that we borrowed from C's dad. From then on, things went oh so smoothly. With Scooter's help, it took him and C one Saturday afternoon (including the mandatory hour and a half lunch break) to install the flooring in this entire bedroom, compared to the entire afternoon it took me and my bro to install a 5x6 area...and he's a strong dude!

Tuesday, November 22, 2005


Laundry Room: Before Floor

Prepped for the oak hardwood flooring installation.

Super Gecko Power!

I've been putting off the stairwell painting task because I am afraid of heights, especially heights involving ladders precariously balanced atop two empty five gallon buckets and across a few nail-studded 2x4s. But I did it!

Geckos rule!

Friday, November 18, 2005


Goin' to the Boneyard

This might just be the happiest day of my man C's life. The cursed radiators went to the boneyard. May they rest in pieces. Got $28 bucks for the load, too.

Thursday, November 03, 2005


Laundry Room Paint Job

Free paint, compliments of Sheila and Jim. They moved out-of-state and needed to unload tools, paint, and miscellaneous building materials, and we pounced on it like the scavenging cats we are.

Another Floor Repair Project in Progress

After the demolition. Sorry for the crappy photo!

New Shutters

Hand crafted by C.

Another Floor Repair Project

So now that we cut our chops on that itty bitty floor repair project in the kitchen, we on to the Big One. At some point in the history of the house a fire ate a pretty sizeable chunk of floor in the living room, plus the radiator leaked badly at some point causing substantial rot.

Some would say this floor is beyond repair, too far gone. We're willing to give it another chance (though we won't kid ourselves about the incredible amount of work involved in this breath of life).

It would be too much detail to try to finger in this much surface area. Instead, we're going to install a completely different species of wood (oak), in the opposite direction, like parquet. Once installed, it will be stained differently from the maple. The end effect will be a quirky little detail.

Rotted Flooring- Done!

Well, almost done. We still have to sand everything and stain and poly, but it sure looks like nothing bad ever happened here, doesn't it?! And it only took a few evenings after work to complete.

Rotted Flooring- Almost Done!

New boards in place.

Repairing the Rotted Flooring

OK, so the first rule of home renovation (especially in an old house) is NOTHING IS EVER A PIECE OF CAKE. But that shouldn't stop you. Just remember that if you have plans to bang out a simple project befor dinner time, it probably ain't gonna happen.

The leaky chimney didn't stop with rot at the maple flooring. It rotted our the subfloor, too. Here you can see right down into the basement.

So, next step (side step): gotta repair the subfloor.

Tools to Repair Rotted Flooring

OK class, this is VERRRRRRY easy. The only tools you need are 1. hammer, 2. chisel, 3. carpenter's square, 4. back issue of This Old House magazine with step-by-step photos on how to finger in hardwood floorboards.

Piece of cake.

Rotted Flooring

The leaking chimney distroyed this chunk of maple flooring in the kitchen. We're going to take the time to patch it up right. Hopefully, at the end of this task, no one will ever know that it was this bad because it'll look good as new!

Hand Built Sidewalk

Dug by D's hand. Definitely not one of his more enjoyable tasks.

That's the funny thing about the really, really, really hard tasks...they're almost never the things that have a high 'wow' factor. People will ooooh and ahhhh over a two hour paint job, or freshly sanded and waxed floors, but it's rather unlikely that anyone will wax poetic about a utilitarian strip of concrete.

Yet he still dug it by hand.

French Drain: On It's Way To Completion

My Own House: In Shambles

I try to keep an upbeat tone on this blog, but for once I'm going to be honest...just for a sec.

This project is like a second full-time job. I don't think I (or C or D, for that matter) really understood what we were getting ourselves into. It's one thing to have a second mortgage and all of the financial worries that go along with debt, but it's quite another thing to have a bunch of physical labor- with seemingly no end in sight- and the added stress of keeping up with silly things like household chores.

Our answer is that we DON'T keep up with household chores...which explains why we haven't invited you over to dinner lately. Laundry sits piled up in the living room, piles of junk mail cover every available surface, many tools and materials needed for the project are in a temporary home in the dining room and kitchen, kitty litter boxes frequently go unattended longer that intended...and on and on. That's really taking a toll on our domestic happiness.

Out neighbors invited us over for dinner last weekend, and we had a lovely time actually sitting down and enjoying a homecooked meal (we haven't done so for months). I left grateful for having such wonderful neighbors, and I could help but feel intensly jealous that their housekeeping habits are impeccable. That jealously has almost ruined the fun.

I have to admit it. It's a secret though, so keep it to yourself: I'm looking forward to finishing this project.

Like I said, D's working hard!

He's a fan of working late into the darkness of night.

New Steps for the Cabin

D's been working really hard on the new steps for the entrance to the cabin.